Introduction
No-Oven Stovetop Bread is a revolutionary approach for home bakers who want fresh, homemade bread without the need for an oven. This method uses the stovetop to create soft, fluffy bread with a golden crust, proving that great baking doesn’t always require traditional methods. Whether you lack access to an oven or simply want to try a more energy-efficient approach, stovetop bread is an excellent alternative.
This recipe is perfect for bakers of all levels, from beginners to seasoned pros. Its simplicity lies in the fact that you only need a skillet or a heavy-bottomed pan, a stovetop, and basic ingredients to get started. What’s more, this bread can be adapted to suit a variety of tastes by adding herbs, spices, or even cheese for a personalized touch.
No-oven bread is not only practical but also highly versatile. Whether you’re making flatbreads, sandwich loaves, or dinner rolls, this method delivers satisfying results without compromising flavor or texture. It’s a game-changer for those who love the aroma and taste of fresh bread but want a hassle-free experience.
Why Make Bread Without an Oven?
The stovetop bread method is ideal for situations where traditional baking is not possible or practical.
Perfect for Small Kitchens or Limited Equipment
For those living in apartments, dorms, or tiny homes with limited kitchen space, the stovetop method offers a solution to enjoy homemade bread without investing in an oven. A heavy-bottomed skillet or pot with a lid is all you need to replicate the steaming and browning process of an oven.
Energy-Efficient Alternative to Traditional Baking
Baking bread in an oven often requires preheating and prolonged baking times, consuming a significant amount of energy. Stovetop bread, on the other hand, uses direct heat and a shorter cooking time, making it a more energy-efficient option. This not only saves electricity but also keeps your kitchen cooler, especially during warmer months.
Accessible and Flexible for All Bakers
For novice bakers, stovetop bread offers a forgiving introduction to bread-making. The method is straightforward and allows for experimentation without the fear of ruining a large loaf. You can easily adjust the size of the bread, and the process works well with a wide range of bread types, from pita to naan or artisan-style loaves.
By learning the art of stovetop bread, you can enjoy the satisfaction of fresh-baked bread anytime, anywhere, without the need for complex tools or large appliances.
Key Ingredients for Stovetop Bread
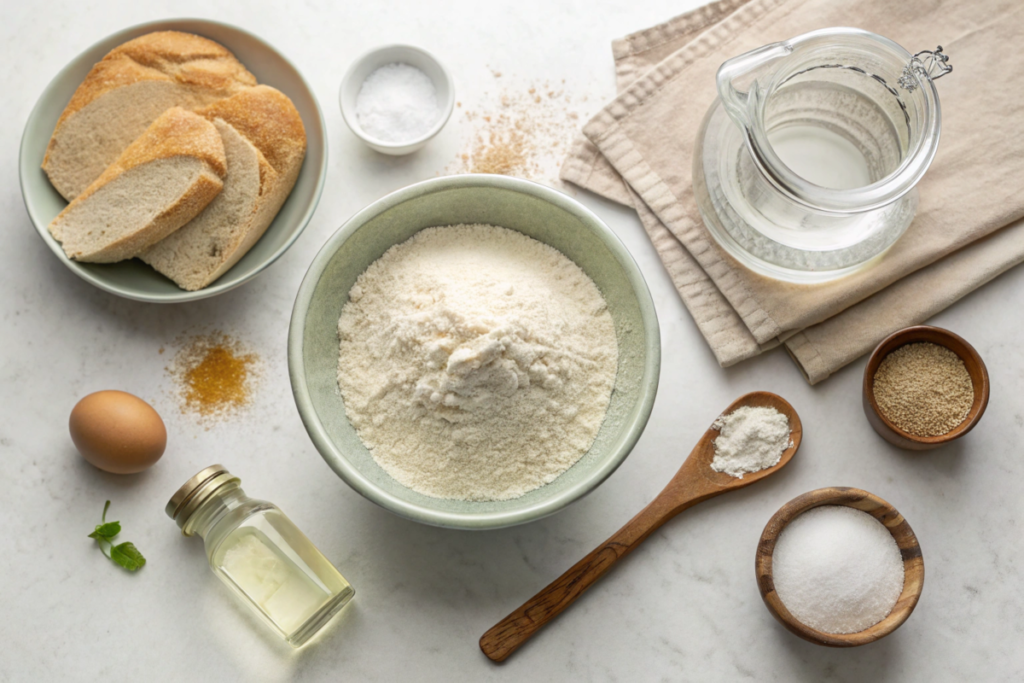
Making stovetop bread requires only a handful of basic ingredients, making it an accessible and straightforward recipe for home bakers. These staples are likely already in your pantry, and variations can accommodate different dietary preferences.
Essential Ingredients:
- Flour (2–3 cups): All-purpose flour is ideal for light, fluffy bread. Bread flour can also be used for chewier texture and structure.
- Yeast (1 packet or 2 ¼ teaspoons): Active dry yeast or instant yeast both work well. Yeast is crucial for leavening and creating a soft, airy crumb.
- Warm Water (¾–1 cup): Warm (not hot) water activates the yeast. Aim for a temperature of 105–110°F (40–43°C).
- Salt (1 teaspoon): Essential for enhancing flavor and controlling yeast activity.
- Sugar (1–2 teaspoons): A small amount of sugar helps activate the yeast and adds a subtle sweetness.
Optional Add-Ins:
- Oil (1 tablespoon): Adds softness and a slight richness to the bread. Olive oil, vegetable oil, or melted butter work well.
- Herbs and Spices: Fresh or dried rosemary, garlic powder, or sesame seeds can be mixed into the dough for added flavor.
Variations for Dietary Preferences:
Whole Grain Version:
- Replace up to half of the all-purpose flour with whole wheat flour. Add a little more water, as whole wheat flour absorbs more liquid.
Gluten-Free Option:
- Use a gluten-free flour blend designed for bread-making. Add a teaspoon of xanthan gum if it’s not included in the mix to help bind the dough and improve elasticity.
Dairy-Free or Vegan:
- This recipe is naturally dairy-free and vegan. For a richer dough, replace oil with coconut oil or avocado oil.
These versatile ingredients and adaptations ensure that stovetop bread suits a variety of tastes and dietary needs, making it a perfect choice for anyone looking to bake fresh bread at home.
Step-by-Step Instructions for No-Oven Stovetop Bread
Making stovetop bread is a simple yet rewarding process. With these detailed instructions, you’ll achieve soft, golden bread without needing an oven.

Step 1: Mixing and Kneading the Dough
Combine Ingredients:
- In a large mixing bowl, combine 2–3 cups of all-purpose flour, 1 teaspoon salt, and 1–2 teaspoons sugar. Stir the dry ingredients together.
- In a separate small bowl or measuring cup, dissolve 1 packet (2 ¼ teaspoons) of yeast in ¾–1 cup of warm water (105–110°F). Let it sit for 5–10 minutes until it becomes foamy, indicating the yeast is active.
Form the Dough:
- Gradually pour the yeast mixture into the flour mixture, stirring with a wooden spoon or spatula until the dough begins to come together.
- If the dough feels too dry, add water a tablespoon at a time. If it’s too sticky, sprinkle in a little more flour.
Knead the Dough:
- Transfer the dough to a lightly floured surface and knead it by hand for about 8–10 minutes. Push the dough away with the heel of your hand, fold it over, and rotate it.
- The dough is ready when it’s smooth, elastic, and slightly tacky but not sticking to your hands.
Step 2: Proofing the Dough Without an Oven
Proofing is an essential step for light and fluffy bread, even without an oven.
Prepare for Proofing:
- Lightly oil a clean bowl and place the dough inside, turning it to coat the surface with oil. This prevents the dough from drying out during proofing.
- Cover the bowl with a damp kitchen towel or plastic wrap.
Create a Warm Proofing Environment:
- If your kitchen is warm, simply leave the dough on the counter to rise for 1–2 hours until it doubles in size.
- For colder kitchens, place the bowl in a slightly warm spot. For example:
- Preheat a stovetop burner for 30 seconds, then turn it off and place the bowl on top.
- Use a turned-off oven with just the light on for gentle warmth.
Check for Readiness:
The dough is ready when it has doubled in size and springs back gently when pressed with a fingertip.
Step 3: Choosing the Right Pan for Even Cooking
The right pan is key to evenly cooked stovetop bread.
Use a Heavy-Bottomed Pan or Skillet:
- A cast-iron skillet, non-stick pan, or stainless-steel pan works well. These materials retain heat evenly, ensuring the bread cooks without burning.
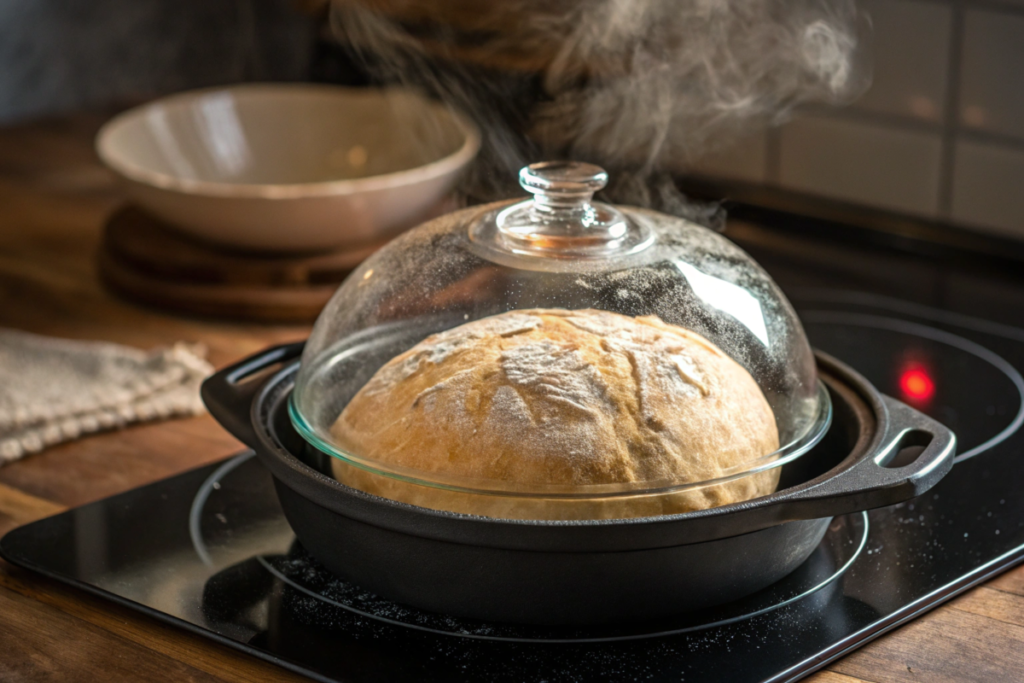
- For larger loaves, consider using a deep, heavy-bottomed pot with a tight-fitting lid to trap steam and mimic an oven.
Prepare the Pan:
- Lightly oil or butter the pan to prevent sticking and add a hint of flavor.
- Preheat the pan over low to medium heat for 3–5 minutes to ensure it’s evenly warmed before cooking the bread.
Step 4: Cooking the Bread on the Stovetop
Shape the Dough:
- After the dough has proofed, gently punch it down to release air bubbles.
- Shape the dough into your desired form: a round loaf, flat disc, or individual rolls.
Cook the Bread:
- Place the shaped dough into the preheated pan. Cover the pan with a lid to trap steam, which helps the bread rise and stay soft.
- Cook over low to medium heat for 8–10 minutes on one side, checking occasionally to ensure the bottom doesn’t burn. Adjust the heat if necessary.
- Flip the bread carefully using tongs or a spatula and cook the other side for another 6–8 minutes.
Check for Doneness:
- The bread is ready when it’s golden brown on both sides and sounds hollow when tapped on the bottom.
- For extra assurance, insert a skewer or toothpick into the center. It should come out clean.
Step 5: Cooling and Serving
Cool the Bread:
- Transfer the cooked bread to a wire rack to cool slightly before slicing. This helps retain its shape and prevents a gummy texture.
- Allow the bread to rest for at least 10 minutes to let the steam settle inside.
Serving Suggestions:
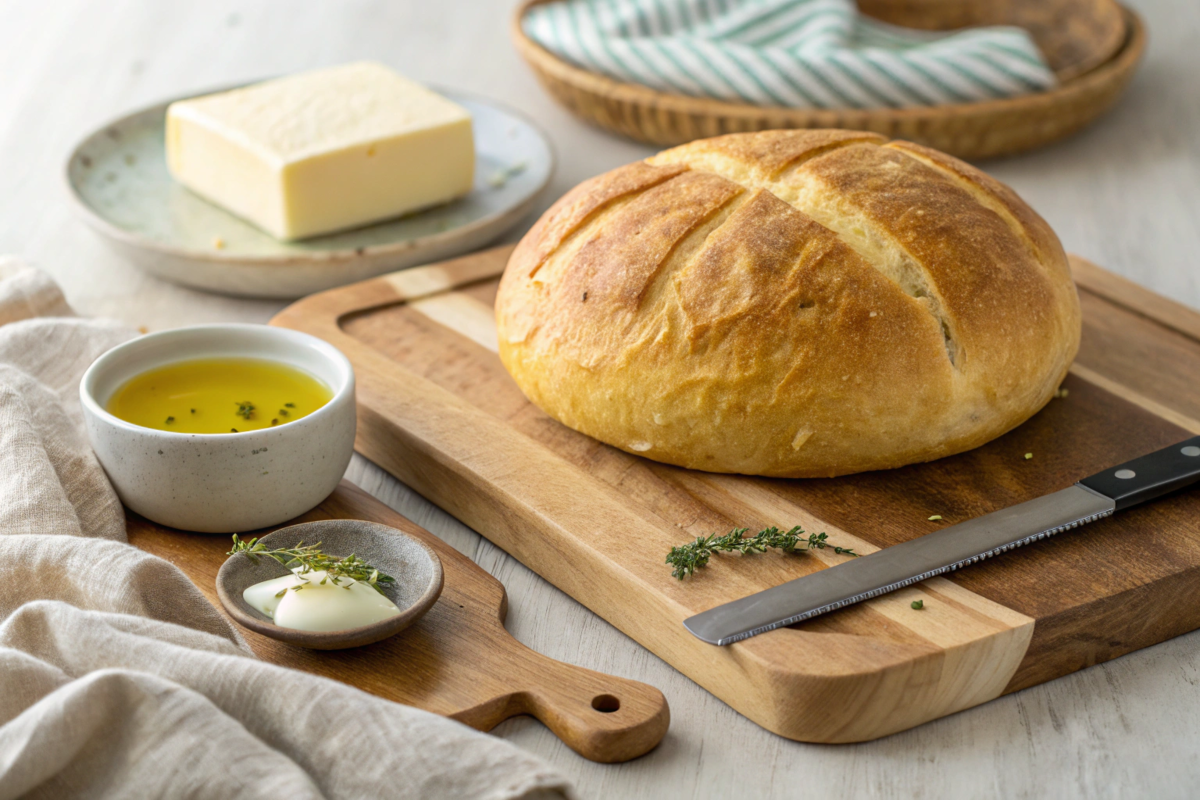
Serve stovetop bread warm with butter, jam, or your favorite spreads. It also makes an excellent base for sandwiches, sides, or dipping in soups and stews.
Tips for Perfect Stovetop Bread:
- Keep the heat low to medium to avoid burning the crust before the inside cooks through.
- Use a lid to maintain even heat and moisture while cooking.
- Experiment with flavors by adding garlic, herbs, or cheese to the dough for a personalized touch.
By following these detailed steps, you’ll create soft, flavorful bread with a beautifully golden crust—all from the convenience of your stovetop.
Tips for Perfect Stovetop Bread
Making stovetop bread is straightforward, but following these tips ensures the best results every time.
How to Prevent Burning
- Control the Heat: Keep the stovetop set to low or medium heat. High heat can cause the bread to brown too quickly, leaving the inside undercooked.
- Preheat the Pan Evenly: Always preheat your skillet or pot for a few minutes on low heat before adding the dough. This ensures an evenly heated surface.
- Use a Lid: Covering the pan traps steam, which helps cook the bread evenly without burning the crust.
Techniques for Checking Doneness
- Tap Test: Once the bread is golden brown, tap the bottom of the loaf. If it sounds hollow, the bread is fully cooked.
- Skewer Test: Insert a toothpick or skewer into the thickest part of the bread. If it comes out clean, the inside is cooked through.
- Visual Cues: Look for a uniform golden-brown crust and ensure both sides are evenly colored.
Pro Tip: If the bread is browning too fast, reduce the heat and extend the cooking time slightly.
Flavor Variations
Stovetop bread is incredibly versatile and can be customized with a variety of flavors to suit your taste.
Herbs and Spices:
- Add 1–2 teaspoons of dried herbs like rosemary, thyme, or oregano to the dough for a fragrant, savory twist. Garlic powder or onion flakes also work well.
Cheese:
- Mix shredded cheddar, Parmesan, or feta cheese into the dough for a rich, cheesy flavor. Sprinkle extra cheese on top before cooking for a golden crust.
Nuts and Seeds:
- Fold chopped nuts like walnuts or almonds into the dough for texture. Alternatively, coat the surface with sesame seeds, poppy seeds, or sunflower seeds for added crunch.
Sweet Options:
- Incorporate a tablespoon of honey, cinnamon, or dried fruit for a lightly sweetened bread.

These variations let you create unique stovetop bread for any meal or occasion, from savory side dishes to delightful snacks.
FAQs About Stovetop Bread
Can stovetop bread be made without yeast?
Yes, stovetop bread can be made without yeast, using alternative leavening agents like baking powder or baking soda. These ingredients create a quick bread that doesn’t require proofing. Popular yeast-free variations include flatbreads like naan, tortillas, or soda bread. Simply replace the yeast with 1–2 teaspoons of baking powder or a combination of baking soda and an acidic ingredient like yogurt or buttermilk. While the texture won’t be as fluffy as yeast bread, the result is still delicious and easy to prepare.
What type of pan works best?
A heavy-bottomed pan or skillet is ideal for stovetop bread. The best options include:
- Cast-Iron Skillet: Retains heat evenly and creates a golden crust.
- Non-Stick Pan: Ensures easy flipping and prevents sticking, especially for enriched doughs.
- Stainless Steel Pan: Works well for even cooking but requires a bit more oil to prevent sticking.
For larger loaves or bread that requires more height, use a deep, heavy-bottomed pot with a tight-fitting lid to trap steam and mimic an oven.
How do you store stovetop bread for freshness?
To keep your bread fresh and delicious:
- Room Temperature: Wrap the bread in a clean kitchen towel or store it in a bread box for up to two days. This prevents the crust from getting soggy while keeping the inside soft.
- Refrigeration: If you need to store the bread longer, wrap it in plastic wrap or place it in an airtight container and refrigerate for up to a week.
- Freezing: For extended storage, freeze the bread. Wrap it tightly in aluminum foil or plastic wrap, then place it in a freezer-safe bag. Thaw at room temperature or reheat in a skillet for a freshly made taste.
These tips ensure your stovetop bread stays fresh and ready to enjoy, whether for immediate serving or later use.

